Showing posts with label Tutorial. Show all posts

Saturday, 6 September 2014

Tutorial: CD coasters


Here is a quick tutorial for the CD coasters I made last week. You should give it a go. It is a a, quick, easy and fun project!

What you need:
CDs- as many as you need for your set. I used six.
Your choice of fabric- I used a fat quarter but I had to piece the last two coasters to be able to make the whole set out of the same fabric.
Batting
Glue- I used Elmer's School Glue
Pen to trace around the CD
Bias binding
Other basic quilting supplies

How to make the coasters:
1. First, trace around your CD on to the batting and cut two pieces per CD.
2. Then, place your CDs on to your fabric. Allow at least 1/2" on either sides and top and bottom. You need this because when you quilt it, it will shrink a little. Now, cut out your squares; two per CD.
3. Put the circle batting you cut out on to one of your squares and quilt it as you desire. You can pin the batting to the fabric on one place just to prevent the batting from shifting. I did straight stitching.
4. Now, lightly glue your quilted piece and place a CD over it. 
 5. Again, lightly glue the CD and place another piece of batting over it.
6. Again, and one last time, glue your fabric lightly and place a square fabric over it. Gently press and leave it aside for a while to dry. 
This is the first time I have used glue on fabric and am quite happy with it. You don't need to apply lots to hold your material in place. As you see in the photos, I have only applied two thin circles.
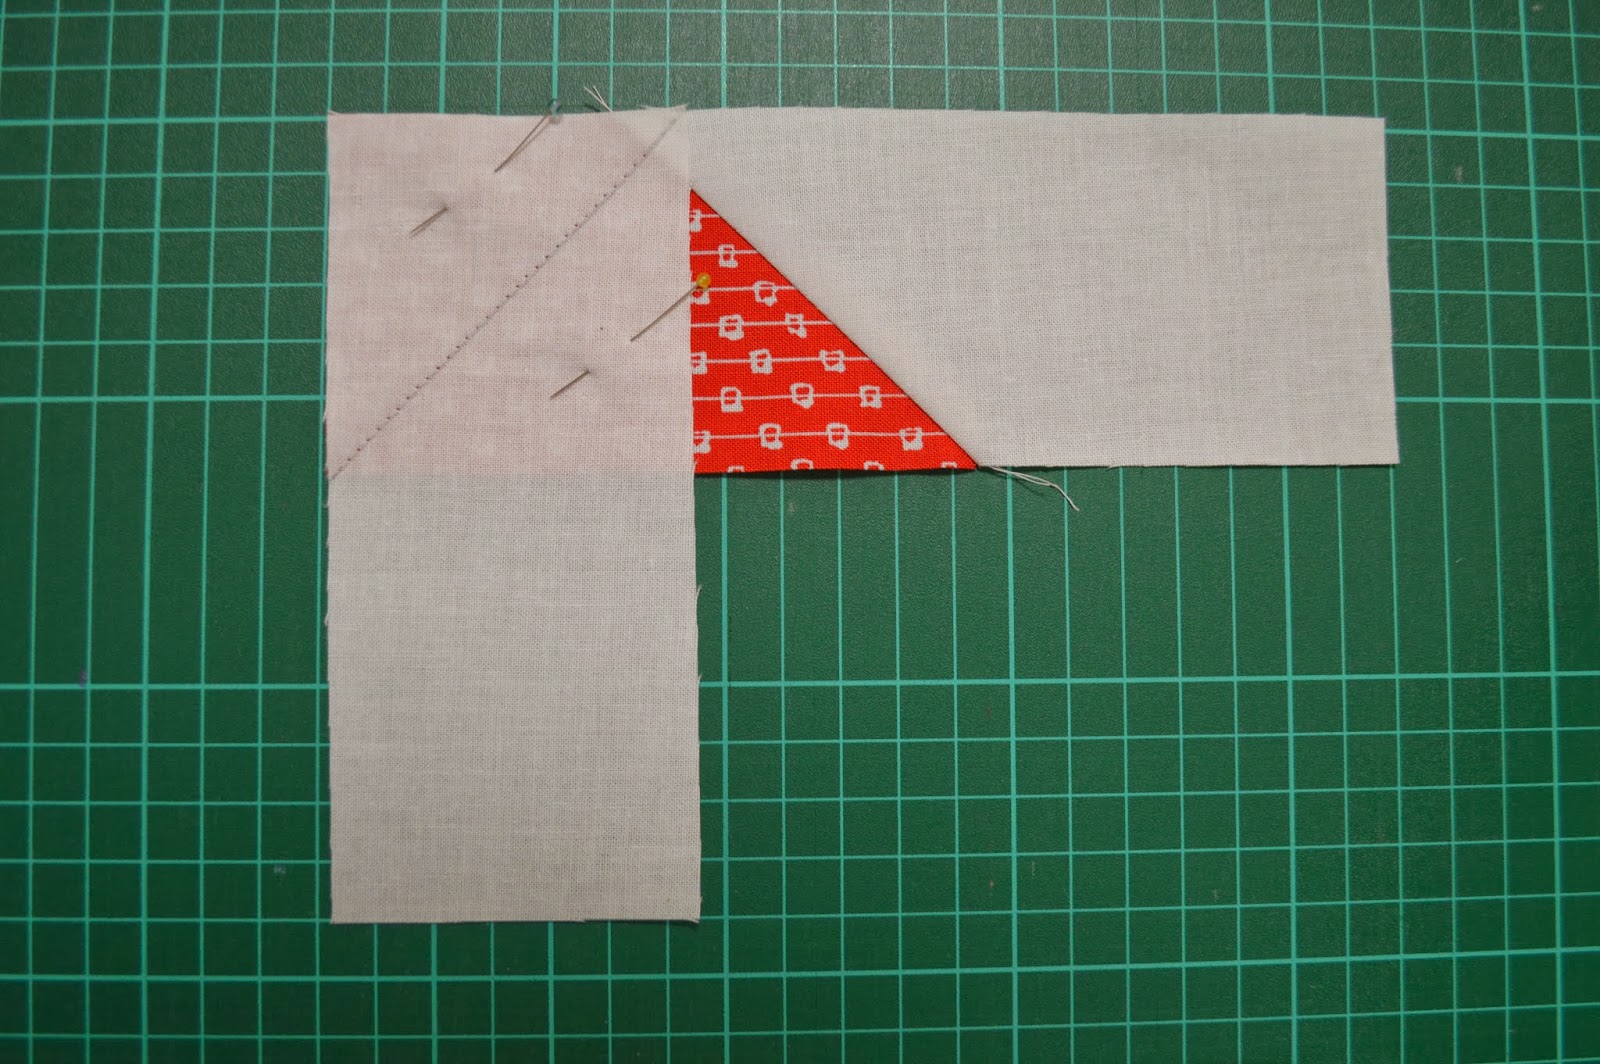
7. Now it is time to sew around the CD. (Unfortunately, I forgot to take photos in this step, but just now took a quick photo to show the placement of the foot and the CD.)
Use your zipper foot of your machine for this step. 
Do you see how the CD's edge is snugged under the foot? When you place your piece under the zipper foot, feel the edge of the CD before start sewing and sew slowly. Maintain the position by gently pushing your piece towards the foot and turn it slowly as you sew.
You can see in the picture that I sewed one more time around it to get as close as possible.
8. Trim your piece by leaving at least 1/4" seam allowance.
9. Now, you will machine sew the bias binding on the quilted side the same way, hand bind it on to the back and finish it just like how you finish binding your quilt. I used a store-bought bias binding. You can trim the seam allowance a little more if you find the binding is too tight around it and it is difficult to stitch it to the back.
And here is your finished CD coaster! Enjoy it!  
 Please let me know in your comments if you have any questions. 

Till next time, keep sewing!


Thursday, 5 June 2014

Tutorial: Pinwheel pincushion

A few followers requested a tutorial for my pinwheel pincushions. Here you go.

What you need:
2-2.5''x2.5'' squares from white (solid) fabric
2-2.5''x2.5'' squares from printed fabric
2-1.5''x3.5'' strips for borders
2-5.5''x5.5'' strips for borders
1-5''x5'' square for the back
*You will use a 1/4 inch seam allowance. The finished size is approximately 4.5" x 4.5"/11.5cm x 11.5cm.
I used white for this pincushion because I had small scraps available in white. You can use any colour you like. In fact, choosing a contrasting colour for borders makes it look even cuter. You can have a look at the previous ones I made for an idea.

How to make it:
First, lay your white squares on your cutting mat and draw a line with a disappearing ink or water soluble ink pen as shown in the photo.
I lay my squares so that the corners line up with one of the lines on my cutting mat. This makes the drawing much easier.
Lay your white square on the printed fabric square as shown in the photo below, pin them together. By using your foot as a guide, start sewing on one side along the line. When finished; lift the foot up, pivot your squares and sew along the other side the same way. Repeat this for the other pair.
Give your squares a press and take them to your cutting table. Now, cut them in half on the line you drew.
Don't worry if the squares/triangles didn't turn up exactly aligned. We will trim the whole thing later so this won't matter.
Now, press your triangle pieces open, trim the little ears and lay them to form a pinwheel like this.
As the next step, we will sew the pieces in two groups- top and bottom. Now, flip your right pieces on to the left pieces, pin and sew them. Make sure that the pointy ends and the sewing lines overlap.
Press your seams first and press the pieces open.
Flip the top piece down on to the bottom piece. Pin carefully to make sure the pointy ends meet and the sewing lines in the centre overlap.
Sew them together. Give it a press and iron it open. Now it is time to trim it down to 3''-its final size before the borders are added. This is how I trim:
Lay your pinwheel on your cutting mat. Because the trimmed size will be 3'', you need to lay your ruler's 1.5'' line on to your square's sewing line in the middle and cut the excess fabric.
You need to repeat this until all the sides are trimmed. You will end up with a 3'' square like this:
Adding the borders:
Now get one of your 1.5''x3.5'' strips, pin it to your pinwheel as shown in the photo and sew them together. Using a slightly longer piece for borders ensures you that the border doesn't end up too short due to shifting of fabrics when sewing. Iron it open and repeat it for the opposite side.
Take your block to the cutting mat, align your ruler as shown in the photo and trim the excess fabric.
Now we will sew the 1.5''x5.5'' borders and trim our block by repeating the same process.
Give it a good press and your block is finished! Your square should measure 5''x5''.
Now, get your 5'' square you cut for the back of the pincushion and lay it on to your block-or visa versa. You will need to leave a 2.5'' opening to turn it inside out; so, start sewing close to a corner, back stitch at the start and the end.
I need to practise my stitching on Photoshop!
Turn the pincushion inside out, fold the seam allowance of the opening inside, press it; you are ready to fill it!
Fill it with polyester filling; pay attention to the corners. Make it really puffy. You can use a chopstick for the corners or something else that wouldn't pierce through the fabric. Hand stitch or machine stitch the opening. I machine stitched mine.
To do this, push all the filling away from the opening as much as you can and sew the opening. Once you finish sewing, give it a shake, pat it, wiggle the filling around and your pincushion is ready!

May it keep all your pins in one place!

Please let me know if you have any questions.
Happy sewing!
Nurdan


Thursday, 19 December 2013

Tutorial: Christmas Tree Block

Finally, I have some time to write this tutorial. I put together this tree last night so the photos are a little dark. Here we go. 

What you will need:
A selection of 2.5 inch wide fabrics. Jelly rolls are excellent for this project.
A 25 inch x width of fabric (normally 42 inches) white fabric for background and the borders.

Starting from the bottom of the tree, cut:
1- 2.5 inch x 2.5 inch square (colourful dots on brown background)
1- 8.5 inch x 2.5 inch strip (red on teal)
1- 6.5 inch x 2.5 inch strip (colourful dots on white background)
1- 4.5 inch x 2.5 inch strip (red)

From the white, cut:
4- 4.5 inch x 2.5 inch strips
2- 3.5 inch x 2.5 inch strips
2- 5.5 inch x 2.5 inch strips

When you lay them out, it will look like this.


The next step is sewing the pieces together to create the rows. 
Starting from the bottom of the tree, sew two of your 4.5 inch x 2.5 inch strips to the opposite sides of your 2.5 inch x 2.5 inch square piece. Use 0.25 (1/4) inch seam allowance, press the seams either open or towards the white or the coloured fabric. I normally press them towards the coloured fabric so that the seam fold doesn't show behind the white fabric. I don't know why I did the opposite this time. Must be a late night sewing thing!

This is the tree trunk
Have you noticed the upside down cutting mat?

Next one is the base of the tree. 
Take your 8.5 inch x 2.5 inch strip, lay it on your mat, place a 3.5 inch x 2.5 inch white strip on either side perpendicular to the 8.5 inch strip. Draw a 45-degree line from corner to corner. You can use a pencil or a disappearing ink pen.
The line will be from the top left corner to the bottom right corner when adding the white piece to the right.

And from the top right corner to the bottom left corner when adding the white piece to the left. This is the exact same process when making binding for your quilt.
And it will look like this

Now sew tiny bit to the right of the line. This will make the white piece and the coloured piece aligned when you press the white piece back. I think this is called a scant quarter stitch. Anyways, lets continue. 

Now, measure about a 1/4 inch from the seam with your ruler and cut the excess off. Press the white pieces back. (I am sorry, I forgot to take a photo of this part but you will understand what I mean in the following photos.)

Repeat the exact same process for the other two rows; the middle and the top part of the tree. When sewing the top of the tree, first sew one white piece, cut the excess off, press it back, and then place and sew the other white piece like this:


So that you don't end up with this- which I did

When you finish sewing the pieces, your tree will look like this:

Now we will put together the rows.
Starting from the top of the tree, take your first row (the red triangle) and turn it down on to the second row (colourful dots on white).

Continue adding the rows by carefully centering each row with the one below. When your tree is formed, trim your block to have even edges or even trim it down to a size you want.
My finished block was 10.25 inch x 8.5 inch and I trimmed it down to 9.5 inch x 8.5 inch to be able to add borders and make it the size I wanted.

For the borders, I cut 2.5 inch strips from my white fabric which were at least 9 inch long and sewed them on to the 8.5 inch sides of my block. Pressed the seams back. I then sewed a 14 inch long strip to the 10.25 inch sides- I have been a little generous, just in case. Pressed the seams back. I then trimmed it down one more time to 10.5 inch x 10.5 inch and pressed it  for a final, crisp look.
And there you go, a very cute Christmas tree!!


This is my very first tutorial. I tried to be as clear as possible and hope I made it easy to understand. Please don't forget to leave a comment and let me know what you think about this tutorial. I appreciate your feedback. Thank you!